Importing contacts from a CSV file
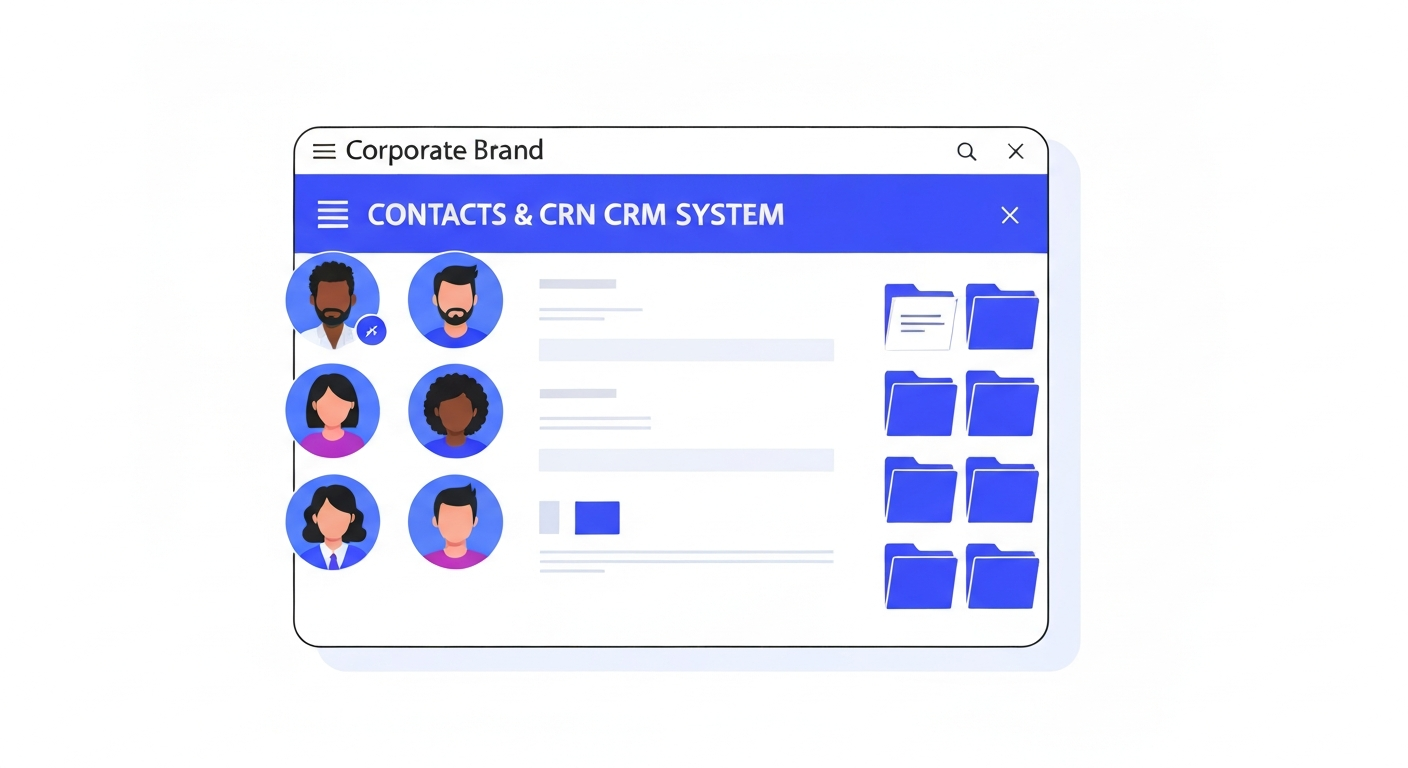
Bringing your existing customer list into CastaLink is fast and easy. By importing a CSV file, you can instantly populate your CRM and begin nurturing your database.
Step 1: Format Your CSV File
Before importing, ensure your spreadsheet is saved as a .CSV file. Your file should have clear column headers in the first row. We recommend at least including:
- First Name
- Last Name
- Email Address
- Phone Number (Include country codes if applicable)
- Tags (Comma-separated if multiple)
Step 2: Start the Import Process
Navigate to Contacts in the left-hand menu. At the top of the page, click the Import Contacts icon (it looks like an upward arrow pointing into a tray).
Step 3: Upload and Map Fields
Drag and drop your CSV file into the upload area. CastaLink will automatically attempt to match your column headers to our standard fields. Review the mapping carefully. If a column doesn't match automatically, use the dropdown to select the correct CastaLink field or create a Custom Field on the fly.
Step 4: Advanced Options
On the final screen, you can apply a universal tag to the entire list (e.g., "Spring 2026 Import") or automatically add all imported contacts to a specific workflow immediately upon import.
Step 5: Submit and Review
Click Submit. Large files may take a few minutes to process. You can view the progress in the Bulk Actions tab. Once complete, your contacts will be fully searchable in the CRM!